Sun Salutation
A while ago, one of my professors bought a pair of old and obscure servers for a few hundred dollars. He recently tasked me with getting them online and usable, something his graduate students apparently had failed to do multiple times over. Then, after that, I was to benchmark several tasks on it and contrast it with a more conventional machine from about the same era. Challenge accepted.

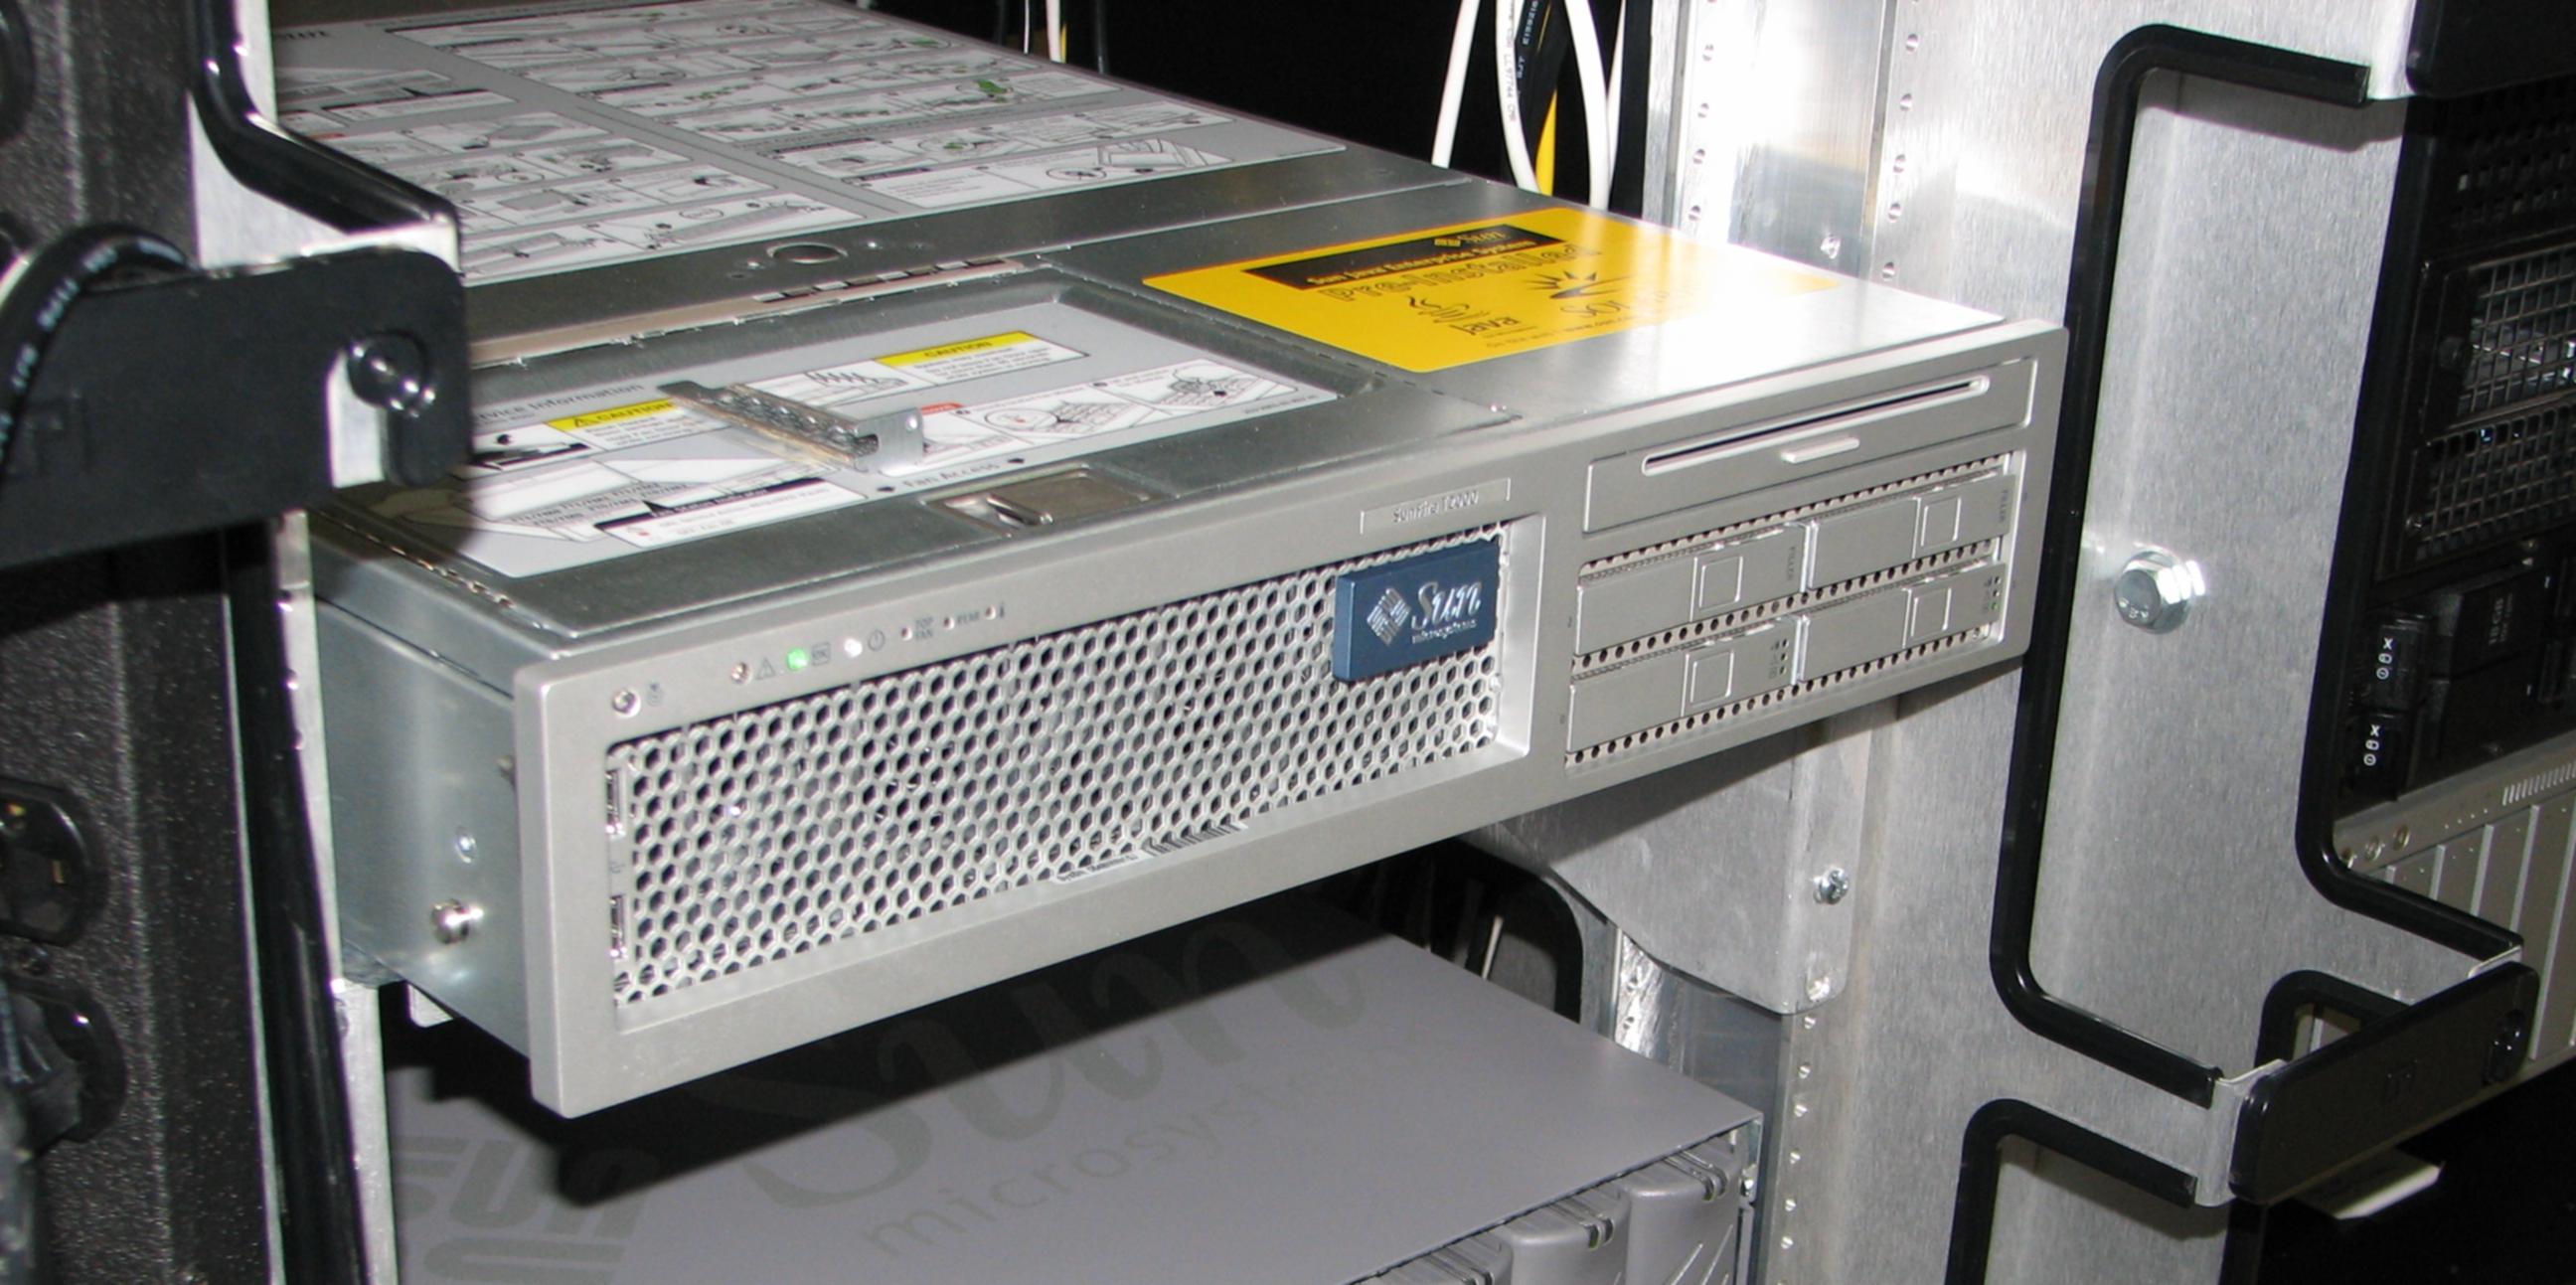
The targets? Two of these Sun Fire T2000s. The mission? Get ‘em working. (Photo originally from here.)
What’s unique about this machines is its parallel design; rather than a few powerful cores, it has 32 weak ones. You can find exact specs taken from the machine here. I feel bad for any business that dropped $13,000 on this; they’re probably getting like, no support from Oracle. I wonder if there are any still in active service.
First Breath
Most Sun servers have something called an Advanced Lights Out Manager, a.k.a. an ALOM; this is an embedded computer that sits separately from the actual server (called the “host”), for the purpose of managing its hardware remotely. E.g. if the host crashes irreparably, you can reboot it with the ALOM.
There are two main ways to communicate with the Sun Fire’s ALOM; serial and Ethernet. The first machine I set up (which I named mario) was already configured to use Ethernet, so I connected it and my laptop to the same network and SSH’d into it. You can figure out the ALOM’s local IP with arp-scan -l -N. Look for Oracle hardware among the returned entries, that’s the one you want.
The second one (luigi) was not Internet-ready, and took me a while to figure out. Turns out you have to connect a computer directly to its serial management port with the server totally unplugged, then plug it in and use your serial console of choice (cutecom in my case, but tmux and screen are apparently pretty popular, too).
You might need to wipe the ALOM if you can’t get in, like if the admin password isn’t the default 8 trailing characters of the serial number. In that case, send it an ESC (0x1B in ASCII) across the line before it finishes its bootup self-tests, then follow the instructions.
Installing Debian
From the ALOM, you can connect to the host through a console via the console command. This is how you can use the machine if it’s not yet connected to the Internet, like when you install a new OS. You may hit the OpenBoot PROM before actually booting the OS; if you have an installer CD inserted, you can type boot cdrom to run it. Or just type boot to run whatever’s installed already.
These machines came with Solaris, but I don’t give half a rat’s ass about it. So I installed Debian. It didn’t go as well as I’d like…

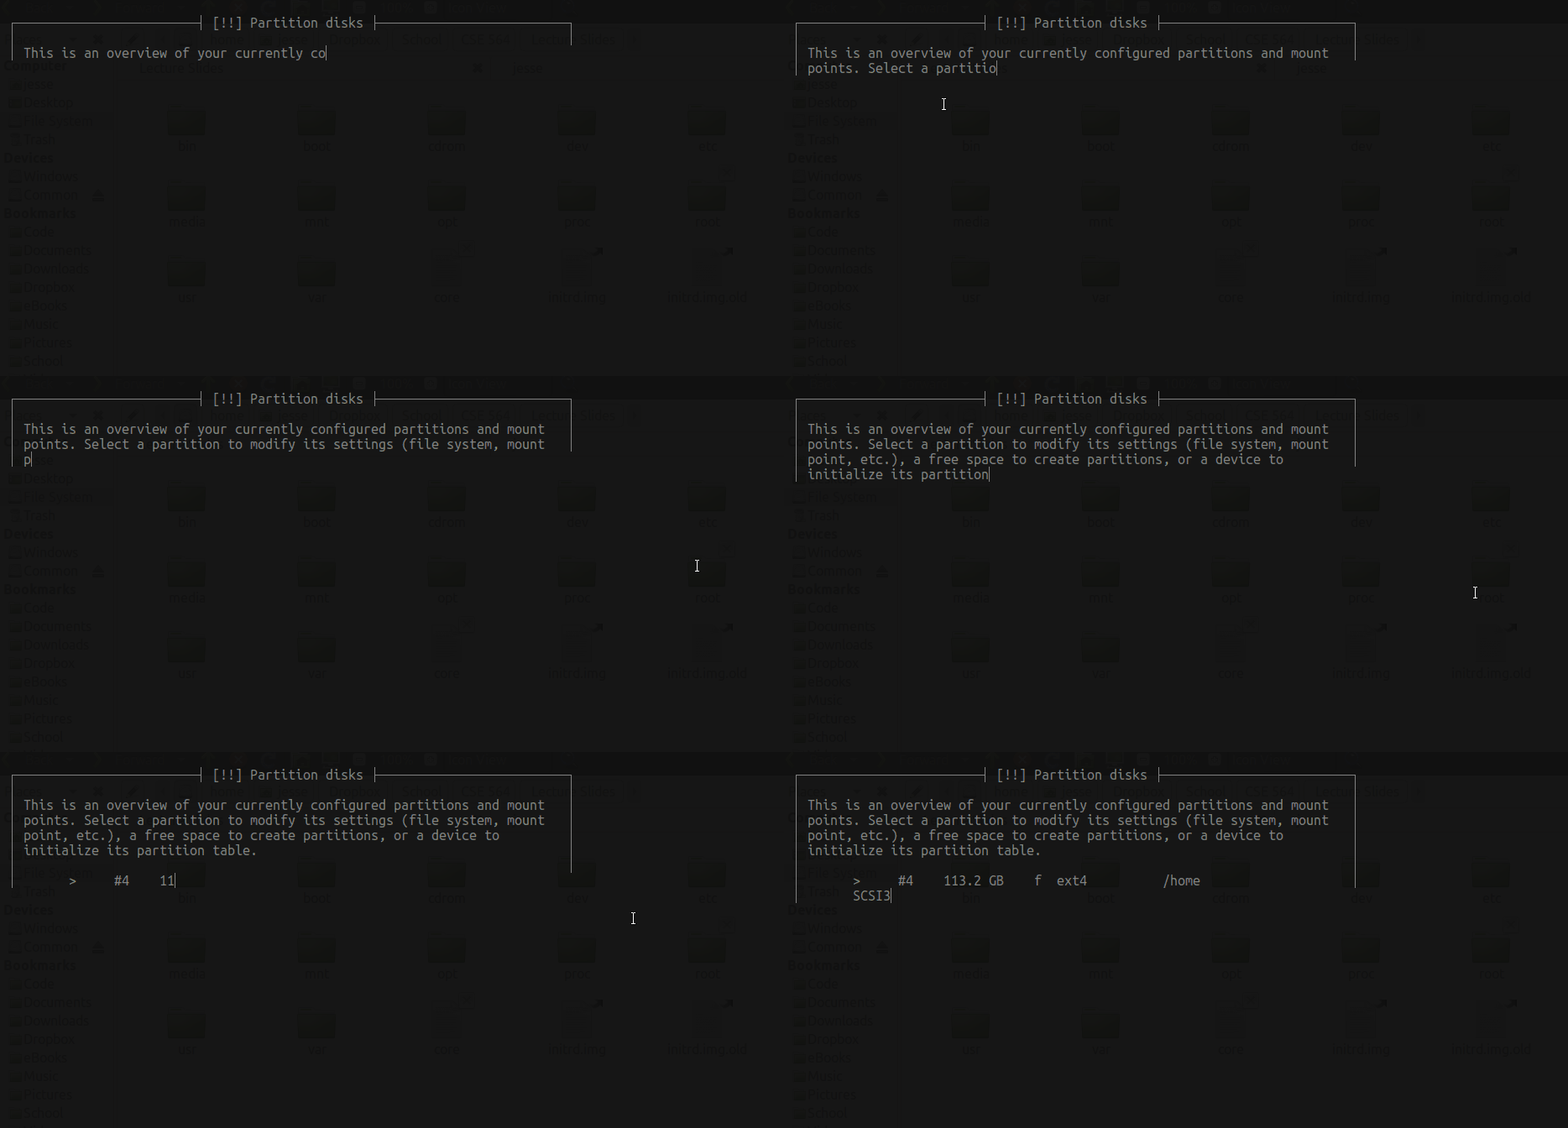
That’s not edited; the ALOM’s console output can be really, really slow. Sometimes. When the planets are aligned a certain way. Apparently, everything output by the ALOM (including the host console) through an internal serial line that runs at 9600 baud.
It gets worse. The most recent official Debian release for SPARC dates back to 2013, and it doesn’t even support 64-bit varieties. But I didn’t know that! Debian Wheezy doesn’t have recent versions of anything, and I was hesitant to slap anything together. Back to the drawing board.
The Good News
Soon after, I found out three interesting things.
The first is that a man named John Paul Adrian Glaubitz maintains Debian ISOs for SPARC64 hardware right here. Seriously, a new ISO had come out the day before I discovered this. It’s neither official nor technically stable, but in my experience thus far it works well enough.
The second is that recent Debian software is maintained for specialty architectures (including SPARC64) at Debian Ports. I’ll come back to this in a bit.
The third is that you can install Debian via SSH. In a nutshell:
- Run the installer in expert mode (it’ll tell you how).
- Set up the country, language, and locale.
- Mount the installer CD with
Detect and mount CD-ROM. - Go to
Load installer components from CDand installnetwork-console. - Configure the network hardware (most likely this can be done automatically).
- On the main menu, select
Continue installation remotely using SSH. - The installer will guide you from there. Make sure your network will let you SSH in!
There, now you don’t have babysit a sluggish serial line. Continue installing Debian as usual. Just note that the package repos available out of the box don’t have SPARC64-built software, so you might get warnings or errors.
First Boot
The ISOs I linked to earlier do not provide Debian Ports out of the box (as of this writing). The first thing you can do is rectify that. Instructions for enabling it are here, but basically it’s adding these two lines to /etc/apt/sources.list:
deb http://ftp.ports.debian.org/debian-ports unstable main
deb http://ftp.ports.debian.org/debian-ports unreleased main
The ISOs don’t come with sudo, so you’ll need to su to root and edit them with nano. Then do apt-get update && apt-get dist-upgrade and go out for lunch. When you get back, install sudo, then whatever else you’d like.
Amazingly, this repo actually has recent software. Hell, some of it (including gcc and bash) is newer than what I have on my own laptop. There’s even new hipster coreutils-alikes like fizsh, ag, and jq (![]() ) available.
) available.
Thirty-Two Times the Fun
Remember, I’ve still got to benchmark these machines (or at least one of them, since they’re identical). I was to be given a comparable x86 server for more meaningful data, but at the time of writing that hasn’t happened. If I get access later, I’ll update this post with the relevant numbers. Or maybe I’ll just use my own laptop. I dunno.
Note that I am a complete benchmarking amateur.
I ran three different tasks. Each task ran three times for each number of cores (i.e. 96 times total). Except the last, for reasons I’ll get into.
Compressing the Linux Kernel
The script I wrote is available here, and the raw data is available here.
The task? Compress the Linux kernel into an archive with pbzip2, a parallel bzip2 archiver.
It looks like there’s not much benefit to using more than 10 cores! The difference between 10 and 32 cores is still a few tens of seconds, but if you have something better to do with those 22 extra cores then there’s no harm in doing so.
Compressing x86 Executables
The script I wrote is available here, and the raw data is available here.
The task this time was to compress a set of executables with UPX. I went with the x86_64 Ubuntu 16.10 release of LLVM 4.0.0; it’s got about 800MB worth of executables and shared libraries.
Similar pattern as the above test.
Compiling the Linux Kernel
The script I wrote is available here, and the raw data is available here.
This one didn’t go well. It mostly finished, but kernel panicked near the end with this error:
NMI watchdog: BUG: soft lockup - CPU#16 stuck for 23s! [systemd-udevd:291]
Modules linked in: sr_mod(+) cdrom ata_generic pata_ali ohci_pci mptsas(+) ehci_pci scsi_transport_sas ohci_hcd mptscsih libata mptbase ehci_hcd usbcore usb_common scsi_mod e1000e ptp pps_core aes_sparc64(+)
CPU: 16 PID: 291 Comm: systemd-udevd Not tainted 4.9.0-2-sparc64-smp #1 Debian 4.9.13-1
task: ffff8000f27b8940 task.stack: ffff8000f2eac000
TSTATE: 0000004411001602 TPC: 00000000004c3bfc TNPC: 00000000004c3c00 Y: 00000000    Not tainted
TPC: <console_unlock+0x27c/0x600>
g0: 0000000000c9d390 g1: 000000000077dc60 g2: 0000000000000000 g3: 0000000000000001
g4: ffff8000f27b8940 g5: ffff8000fe9b4000 g6: ffff8000f2eac000 g7: 0000000000000050
o0: 0000000000c7a698 o1: 0000000000000000 o2: 000000000000005e o3: 0000000000c7c6a0
o4: 0000000000c9d4e0 o5: 0000000000000000 sp: ffff8000f2eaeee1 ret_pc: 00000000004c3bf0
RPC: <console_unlock+0x270/0x600>
l0: ffff8000ffb55658 l1: 0000000000000000 l2: 0000000000c9d390 l3: 0000000000000000
l4: 000000000000005e l5: 000c0009c0000006 l6: 0000000000c7c6a0 l7: 0000000000c7cf18
i0: 0000000000c9d360 i1: 0000000000c9d000 i2: 0000000000c7c698 i3: 0000000000c9d350
i4: 0000000000b45800 i5: 0000000000c9d000 i6: ffff8000f2eaefa1 i7: 00000000004c434c
I7: <vprintk_emit+0x3cc/0x560>
Call Trace:
 [00000000004c434c] vprintk_emit+0x3cc/0x560
 [00000000004c4660] vprintk_default+0x20/0x40
 [000000000056b3c0] printk+0x30/0x40
 [0000000010006060] aes_sparc64_mod_init+0x60/0x98 [aes_sparc64]
 [0000000000426cd8] do_one_initcall+0x38/0x160
 [000000000056b66c] do_init_module+0x54/0x1c8
 [00000000004f3cf4] load_module+0x22f4/0x2720
 [00000000004f4360] SyS_finit_module+0xc0/0x100
 [00000000004061f4] linux_sparc_syscall+0x34/0x44
No idea what that means; I need to ask on the mailing list later. The hardware for mario and luigi are identical. I hope this doesn’t mean luigi’s faulty.
Anyway, results. This one is unusual, and I kind of want to retry it on mario:
I don’t know why the first trial with a single CPU took much less time than the other two. The raw data shows there were a lot less minor page faults and context switches. The time varies more between trials at the end, too. I wonder if this has something to do with RAM? mario has 8GB of RAM, but luigi only has 4GB. For some reason, none of these trials kept track of memory usage, so I don’t know for sure.
The Last Word
Apparently this was a pretty good deal (though I don’t know if my professor used his own money or part of his lab’s budget). The machines were a huge pain in the ass to set up but they didn’t give me a venereal disease, so I guess that counts for something. And I get to keep using them for as long as I’d like! Now I just need to think of things to do with them. It would be criminal to put all that time in and not do so.
